Chapter 1 - How to set up ezBooks for your business
Introduction
In this section we will tell you:
How to load ezBooks (5 mins)
If you have already loaded ezBooks you can skip this section and go directly
to What happens when you open ezBooks for the first time.
If you have not loaded ezBooks and you have the CD containing ezBooks put it in
your CD drive, click Start, click Run, click Browse and then navigate to the
drive which represents your CD. You will find a file called ezBooks.exe or ezbkall.exe (or
just ezBooks or ezbkall if you have your system set
up so as not to show file extensions), select it by clicking your mouse onto it. The click
Open, click OK and ezBooks will self install.
If you have downloaded ezBooks from the internet, either the file will invite you to
select immediate installation or you will have to save the file to your hard drive, then
find the file with windows explorer and double click on the file for self installation to commence.
What happens when you open ezBooks for the first time(10 mins)
When you loaded ezBooks it will have placed the following shortcut on your desktop:
Click on it and the following screen will open:
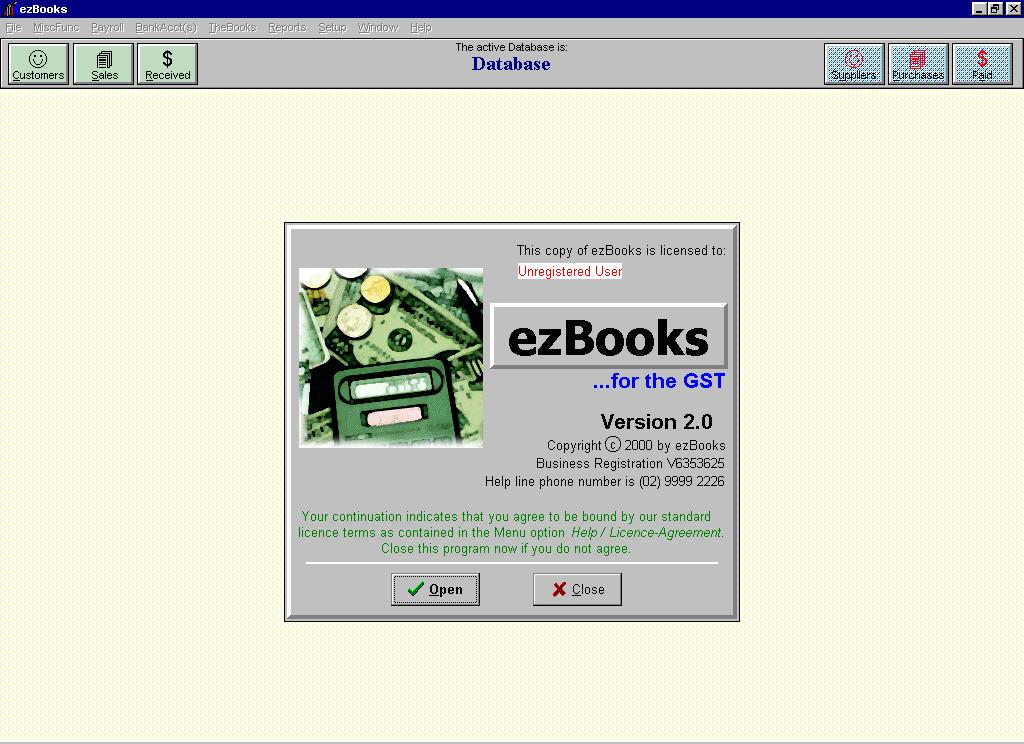
As you can see this copy has yet to be registered. Next you click on Open and this
GUI appears in the centre of the screen:
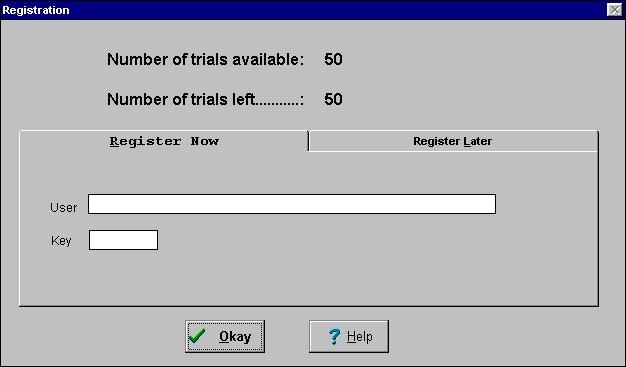
You can either select the top right tab Register Later or the top left
tab Register Now. We recommend you select Register Later and click
OK.
The GUI will change as follows:
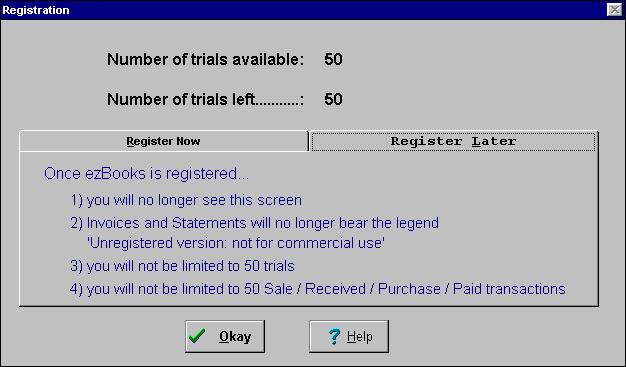
The click OK and the following GUI appears:
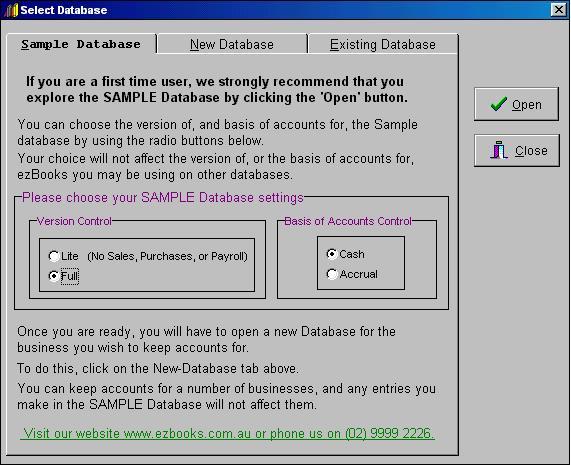
As you can see, this GUI offers you the opportunity to see the various versions of ezBooks.
This GUI allows you to see these versions via a small sample database within which you can
make entries and try out the system. If you only purchase the Lite Version you can still
review the full version in this sample database but will not be able to operate the full
version in databases you create yourself.
All small businesses face the decision to account on a cash basis or accruals basis.
Most small businesses decide to use the cash basis. This is because this method can delay
the payment of tax although overall no tax saving is likely. The cash basis does not
recognise income nor expenses until cash is actually received or paid. The accruals basis
recognises income at the time you raise an invoice and allows expenses as soon as you
receive an invoice.
If you know which basis your accounts currently use simply select it. If not have a word
with your accountant and then select the appropriate basis.
If you chose the cash basis, you also have the opportunity to use the Lite Version. As it
is the simplest version we will open the Lite Version this time.
If your GUI looks like the previous one, you will need to select the Lite radio button
and the GUI will change to that show below:
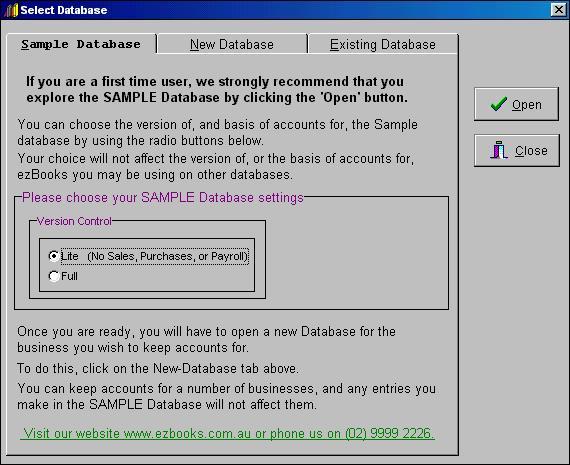
If the GUI looks like the one above you have already selected the Lite Version. Now
click on the Open Button and the next GUI will be revealed.
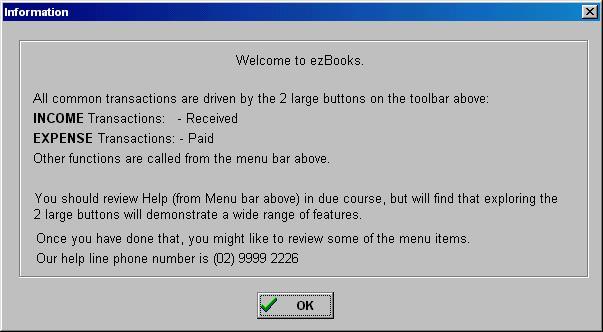
Take a moment to read what it says. If you click OK the sample database will open and you
can explore the system.
How to register your copy of ezBooks(5 mins)
ezBooks will open for anyone and you can make up to 50 entries in any database (set of
particular company records). However, if you wish to use ezBooks continuously you will
need to register your copy. Registration numbers can be obtained from our website -
www.ezbooks.com.au - or over the phone - 02 9999 2226.
When you open an unregistered copy of ezBooks it shows you the following GUI:

If you have a registration number (key) and user name you simply enter them. For example you might have
a user name 'Evans & Co' and a registration number (key) '645H745I99' as shown below:
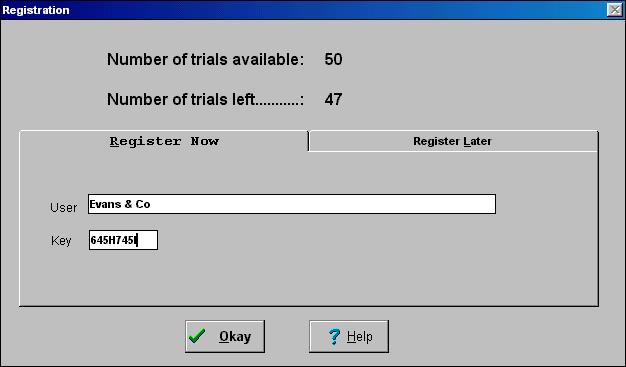
Then click on OK.
To set up ezBooks for any business you must create a database to hold the information concerning
the business. You do this by using File:
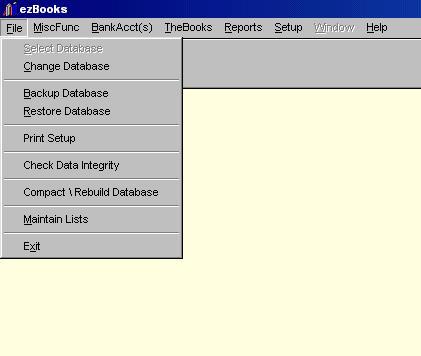
Select Change Database and then select Select Database and
the following GUI will appear:

It has three selection tabs at the top. If you click on the one named New Database, the following
GUI is revealed:
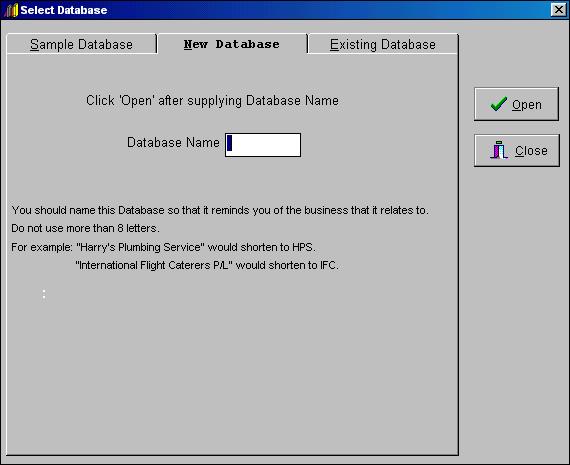
You should type in a name for your new database. It really does not matter what you call it.
It is for the purpose of identification only. It can only be 8 characters long. For the
purpose of this tutorial we have simply entered 'test'.
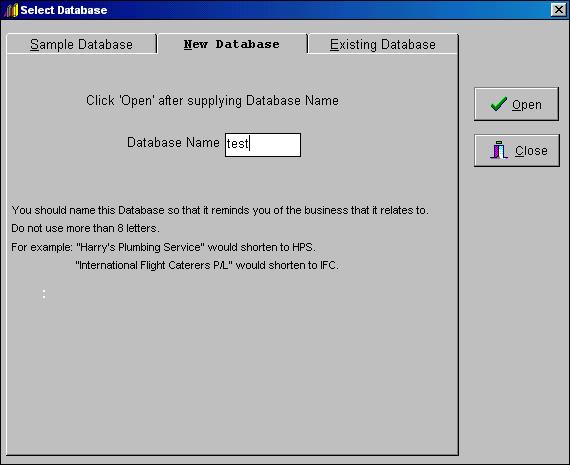
Now click on Open and ezBooks will create the new database and then the screen will
display this GUI:
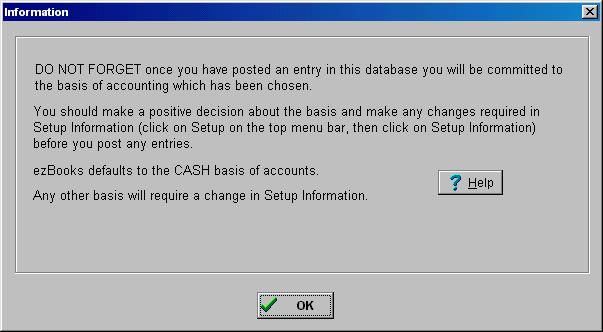
Click OK and the system will be ready for you to enter your set up data.
Every business has certain information which is special to itself. With ezBooks you
enter this information into a set up screen. You find this from the top menu.
Setup > Setup Information:
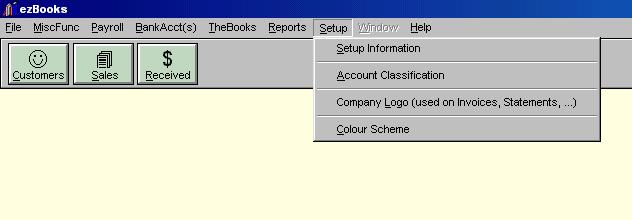
Once you have selected Setup Information the following GUI will be revealed:
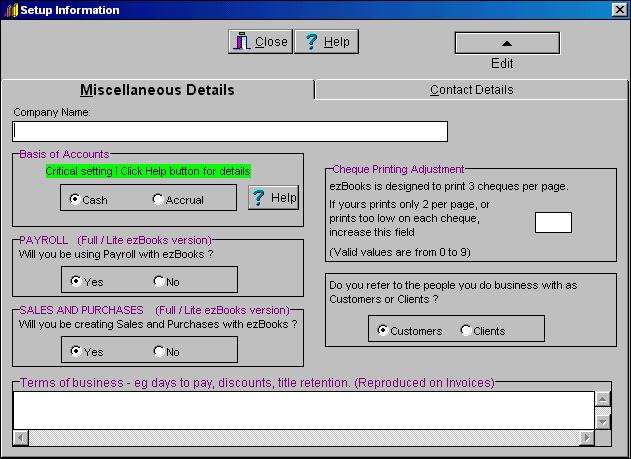
If you have purchased a Lite Version, the GUI will be simpler (offer less choices) and
you should skip any parts below which refer to items you cannot see on your screen.
You should notice that it contains two tabs Miscellaneous Details and Contact Details.
Also it has a button Edit. You can only edit information in this GUI once you have
clicked on Edit. Do so now.
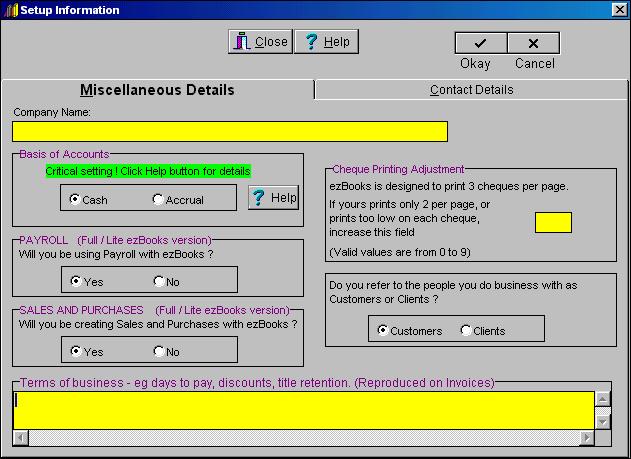
Everyone should complete their Company Name and if you want standard terms to appear on the
bottom of each invoice ezBooks issues complete the Terms of Business section at the foot.
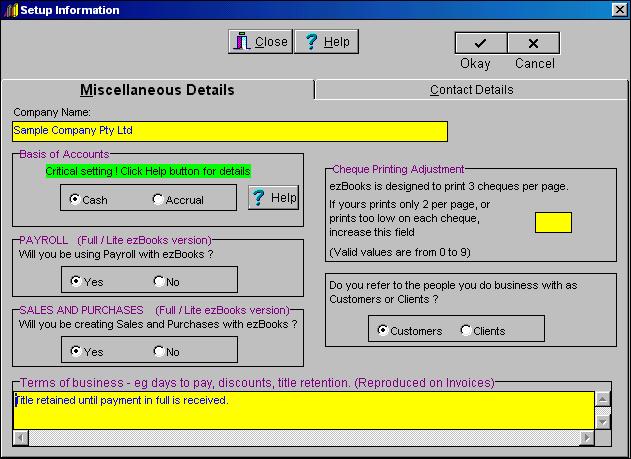
You must decide what modules you wish to use and also which accounting basis, accrual or cash.
You are also given the option to call your customers - 'clients' or 'customers'. Try selecting
accrual in the section Basis of Accounts and you will see that the option box concerning
SALES AND PURCHASES disappears. This is because a business using accruals will always
need to operate a sales and purchase day book. Now select cash again.
Now select Contact Details (it will be blank) and complete it:
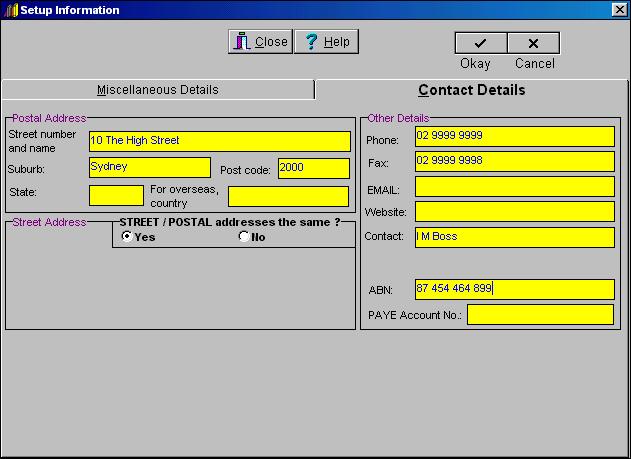
Now select Okay and Close and you have set up your business information.
Adding a company logo (5 mins)
ezBooks allows you to add a company logo to invoices and statements. You find this
from the top menu.
Setup > Company Logo (used on Invoices, Statements, ...):

Once you have selected this, the following GUI will appear:
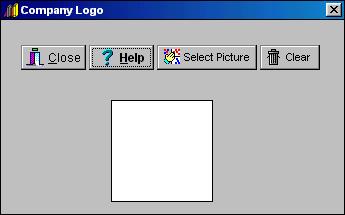
The GUI will allow you to import any picture which is already in the form of a bmp file.
For the purpose of this tutorial we will affix a bmp which comes along with ezBooks, click
on Select Picture and the following GUI will appear:
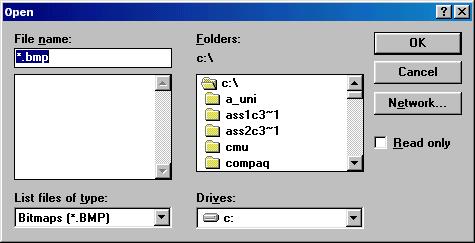
Then navigate yourself, in the usual windows fashion, to c:\ezbkdata\sample and you will
see that logo.bmp appears in the File Name box:
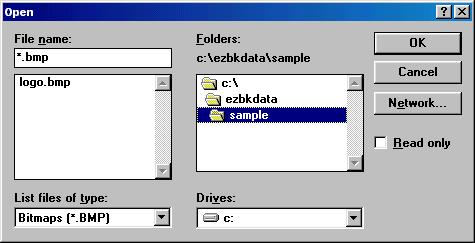
Then select (click on) the words logo.bmp and then click on OK and the logo will
appear in the Company Logo GUI:
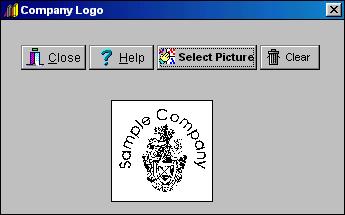
Click on Close and the logo will now be used on your invoices, etc.
How to enter your bank accounts
You will always have to enter a bank account even if it is a brand new one with a nil
balance. If it is an account with a nil balance all you have to do is complete the steps below
and enter a zero when asked what the balance on the account is. Otherwise
you will have to bear your current position
in mind. The main question is 'Are you going to start with your cash book position
or the actual bank balance on a particular day?'.
The relevance of this is largely from the
point of view of bank reconciliation. All businesses should keep a cash book and enter into it
any cheques written and any monies paid into the bank. The balance on this cash book is the
mirror of the balance in the bank account but at any point in time items entered into the
cash book may be in transit and may have not arrived at the bank account. For example, a cheque
may have been written, entered into the cash book and posted to a supplier. During the time
between the cheque being entered into the cash book and it actually finding its way to your bank
account many days may pass and the figure in your cash book will disagree with the figure in your
bank account by the amount of the cheque.
In order to keep track of this, businesses carry out
what is called a bank reconciliation. Essentially they keep a list of unpresented cheques and
credits in transit. These sum to the difference between their cash book and their bank balance. ezBooks
will assist you with bank reconciliations but at this point we are really only concerned with
the implications for your own take on figures.
You must follow the following guidance
- If you take your starting figure from your bank account you should also enter any items (cheque and credits) which have not hit your bank account, into ezBooks.
- If you take your starting position from your cash book, remember that you will have to complete the reconciliation of any items outstanding from the cash book separately from any items you subsequently enter in ezBooks.
It is probably easier (in most cases) to simply let your existing system run out and to start
ezBooks with your current bank balance. Say you have an account with Westpac and it has $10,000
in it. Bank accounts are managed from the top menu bar through BankAcct(s) > Bank Accounts.
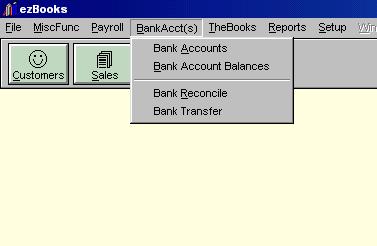
Once you have selected this the following GUI appears:
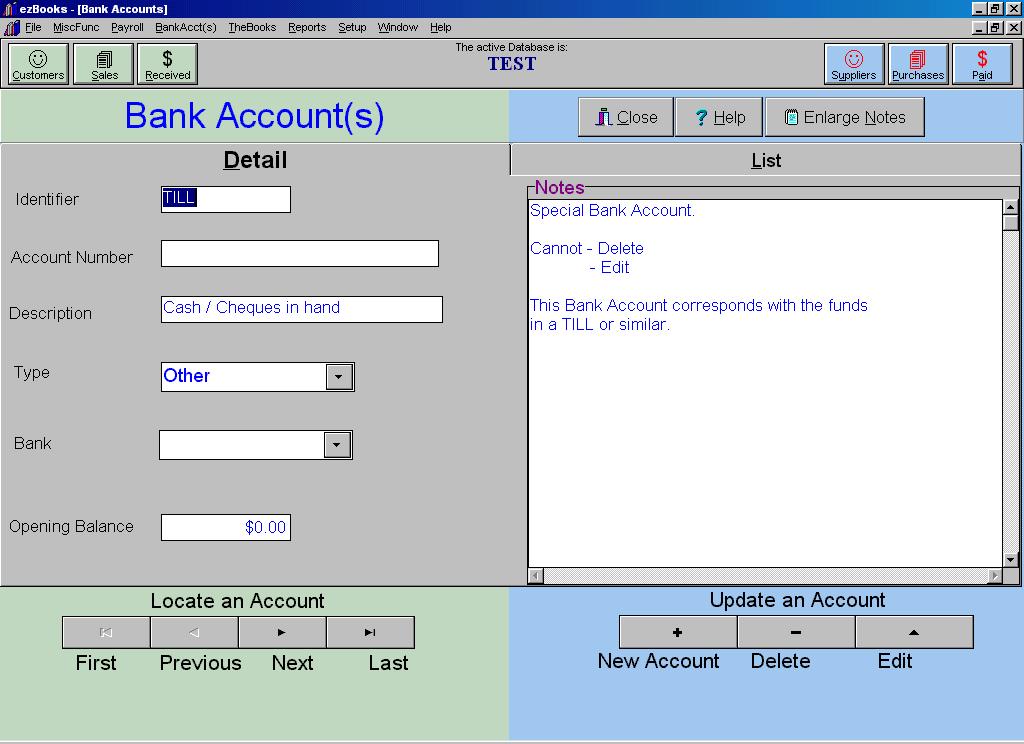
Select New Account and then complete the information as below:
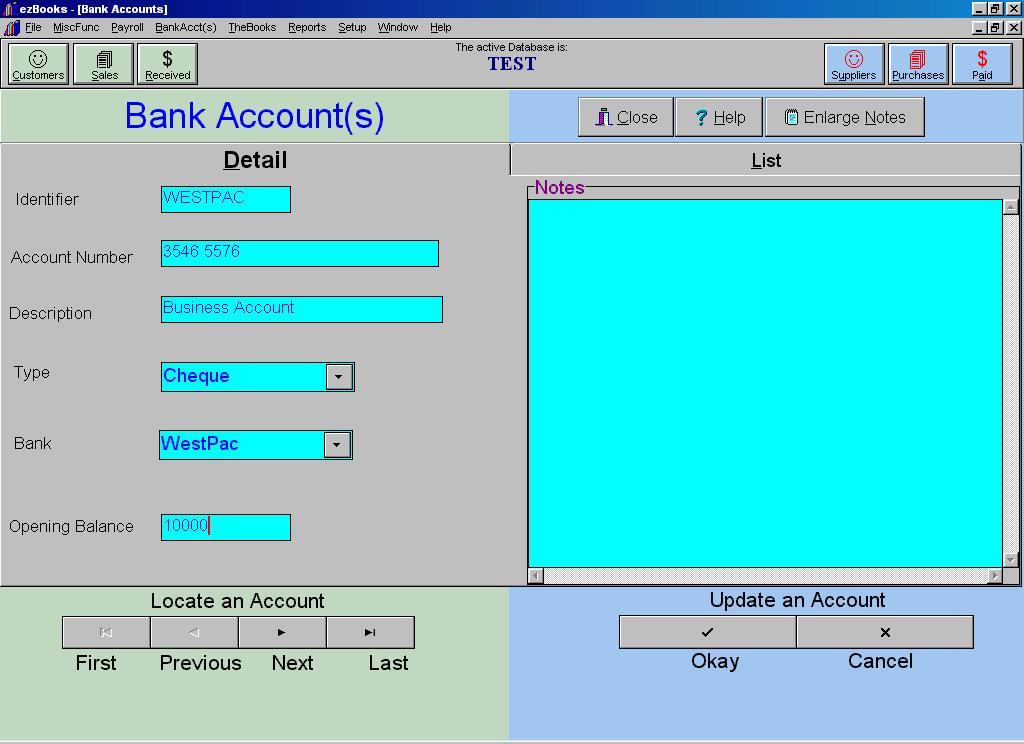
Then click on Okay and you will have set up your bank account.
How to adding opening figures for an existing business (10 mins)
The transfer of accounts from one system to another is more difficult than simply starting from
scratch on any particular system. Somehow you must pick up the past history of the business
to allow the new set of records to reflect the proper current position. However, ezBooks
does not force you to enter put past, in order to keep your records. You can start straight
away and then put the figures in at any time. It may be that your accountant helps you prepare
the figures which will be required to do this. Essentially what is required is a trial balance
prepared to reflect the final figures in your last system. You may well be coming from a manual system
but whatever system you have used in the past, a trial balance is a listing of all the account names and the balances on
each account. Normally it is organised in three columns and a very simple example is given
below.
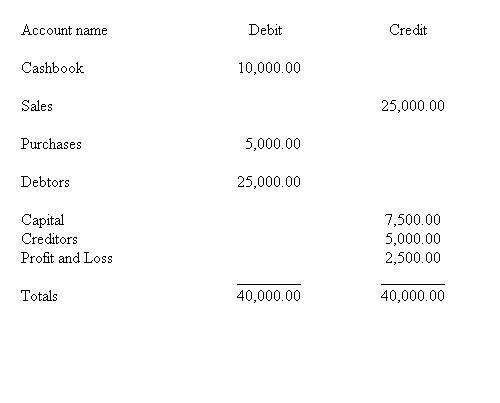
As you can see it balances! which is why it is called a trial balance - a real balance is
one that you enter in the books (for example at the year end). Anyway, assume that the figures
above is the closing position of your old set of records. Now we will enter these figures into ezBooks.
You do this in the Setup > Account Classification from the top menu.

Once you have selected this, the following GUI will appear:
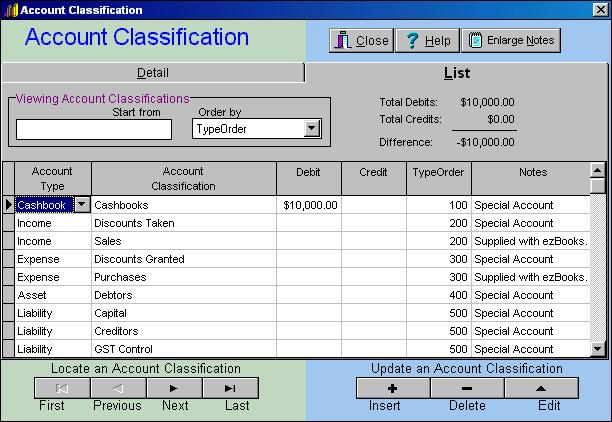
If you have already entered banking figures, you will notice that it already shows the bank figures we entered in the section
'Entering your opening bank balances' above. You cannot change bank figures in
the Account Classification GUI but you an edit all the other figures. Notice that in the top right hand corner
that there is a small section circled in red below:
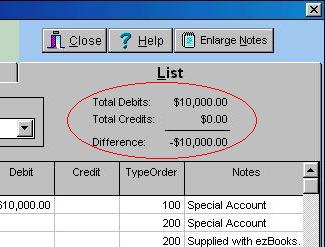
If you have already entered banking figures you will notice that the total of the debits is
$10,000.00 and the total of the credits is $0.00. These sub-totals come from adding up all the
entries in the debit column and all the entries in the credit column. For your books to
balance they must be equal but at this stage we have only entered one of our carry forward
assets, the bank balance, and they cannot add up.
Select the Sales line by clicking on the word Income at the beginning of it:
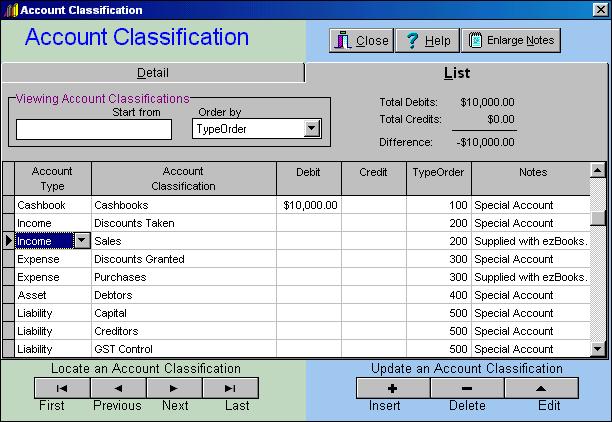
Then click on
Edit and select the Credit box on the same line and enter $25,000:
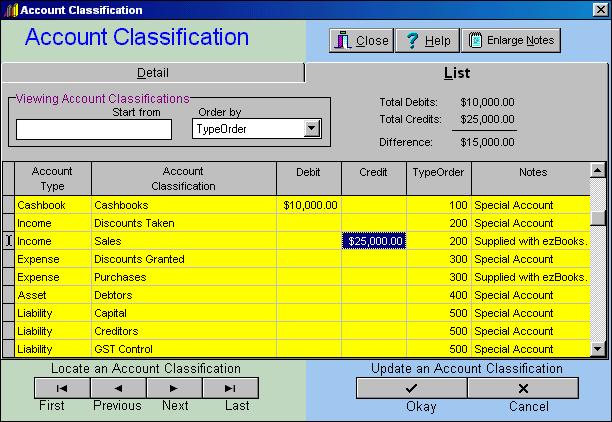
Then click Okay. Repeat this for Purchases, Debtors, Capital, Creditors and Profit and Loss.
The result will be as follows:
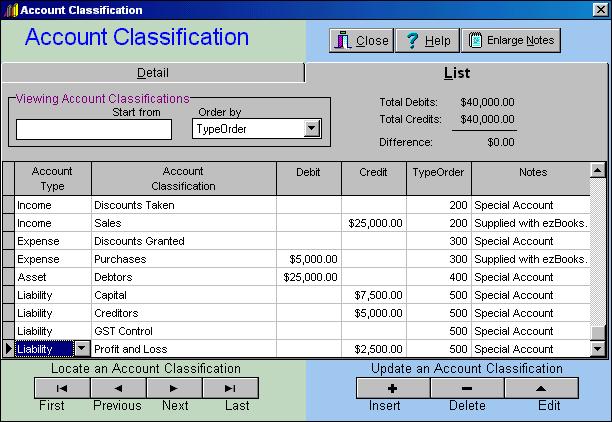
You will notice that the figures now balance and you have completed your takeon of your old figures.
How t0 change a database and set your company as the default (5 mins)
The Select Database GUI is the tool that you use to change databases and to set your own
database as a default:

You can open this GUI in a couple of ways. Firstly (unless you have selected a default
database) it will open as part of your opening ezBooks just as it did in 'What happens when you open ezBooks for the first time'
above. However, if you ever want to open it at other times it is available from the top menu
through File > Select Database. If you find that this is not active
when you pull down File, you should
select File > Change Database first.
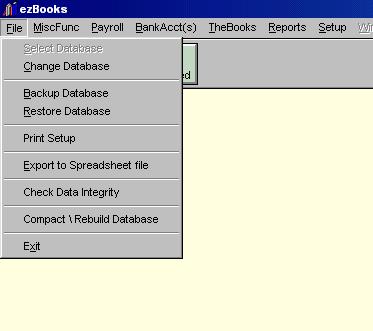
Once you have opened the GUI you should click on the tab Existing Database
and the GUI will change to:
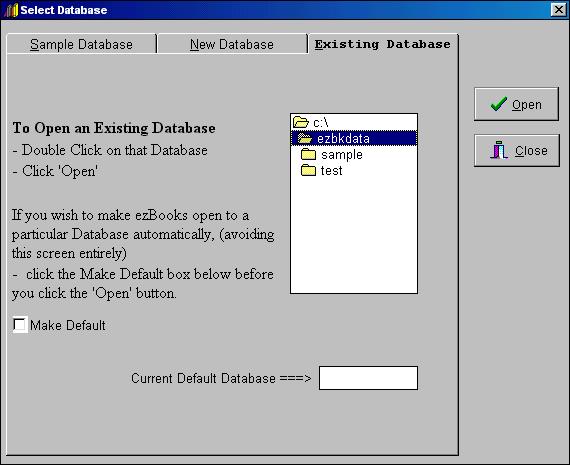
If all you have done is this tutorial the directory structure tree will look like that shown above.
If you have more than just the two names, sample and test, you have already been creating other
databases. You require one database for each 'entity' you wish to keep a set of accounts for
so don't be worried if you do have more than two.
To change a database you have to select it. Try double clicking on sample. It will be
highlighted in blue. You have to DOUBLE CLICK so that the other option of test disappears.
Now click on the box which says 'Make Default' and a tick will appear in it. The GUI will
now look like this:
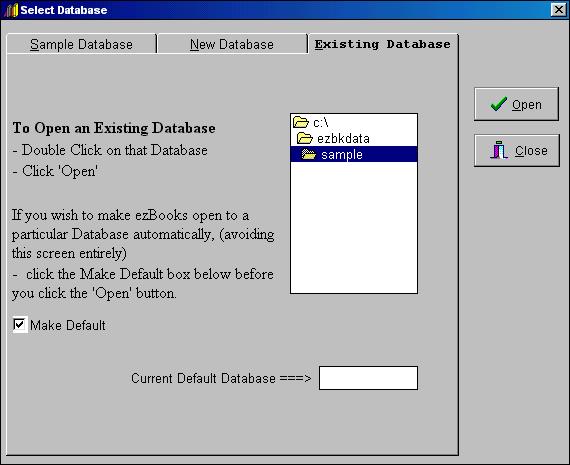
Click on Open and the database you have selected will become the default. This mean
that the next time you open it, ezBooks will simply take you to that database. You can change
the database any time you have exBooks open.


